Are you planning on installing a dash cam on your Honda Civic but unsure where to start? Don’t worry; we’ve got you covered!
In this article, we will walk you through the entire process, from choosing the right dash cam to properly installing it in your car.
Not only will this guide help you secure your vehicle, but it will also provide you with peace of mind knowing that your trips are recorded.
Why Install a Dash Cam?
Dash cams offer several benefits, including capturing footage for insurance claims, deterring would-be thieves, and even helping you improve your driving skills. With more and more people recognising these advantages, installing a dash cam has become a popular and practical choice for many Honda Civic owners.
Tools and Materials You Will Need
Before you start the installation process, gather the following tools and materials:
- Dash cam with mount
- MicroSD card (if not included)
- Power cable
- Trim removal tool
- Cable clips or adhesive
- Electrical tape or cable sleeves
- Fuse tap kit (optional)
Step-by-Step Installation Guide

Preparing Your Car
- Ensure your car is parked on a level surface, turned off, and the handbrake is engaged.
- Clean your windshield to ensure proper adhesion for the dash cam mount.
Mounting the Dash Cam
- Determine the optimal mounting location. This should be behind the rearview mirror to avoid obstructing your view.
- Attach the dash cam to the mount and press it firmly onto the windshield. Hold for a few seconds to secure the suction cup or adhesive.
Running the Power Cable
- Tuck the power cable into the headliner, starting from the dash cam and moving towards the A-pillar.
- Use the trim removal tool to pry open the A-pillar cover and route the cable down the side.
- Continue running the cable along the door seal, securing it with cable clips or adhesive as needed.
Connecting the Dash Cam to Power
- Locate your car’s fuse box, typically found under the dashboard or in the glove compartment.
- Identify a fuse that is only active when the car is running (e.g., accessory or radio fuse).
- Use a fuse tap kit to connect the dash cam’s power cable to the chosen fuse (optional).
Setting Up the Dash Cam
- Insert the MicroSD card into the dash cam, if required.
- Turn on your Honda Civic and check that the dash cam powers on automatically. 3. Adjust the camera angle and settings to your preference, ensuring a clear view of the road ahead.
Additional Installation Tips
- For hardwiring your dash cam, consider hiring a professional to avoid potential electrical issues.
- If you have a rear dash cam, follow a similar installation process but route the cable along the headliner and down the B-pillar.
Dash Cam Maintenance and Troubleshooting
To keep your dash cam running smoothly:
- Regularly check the mounting and adjust if necessary.
- Clean the lens with a microfiber cloth to maintain video quality.
- Periodically back up and format the MicroSD card to avoid storage issues.
Frequently Asked Questions (FAQs)
What is the best dash cam for a Honda Civic?
There isn’t a specific “best” dash cam for Honda Civics, as it depends on your preferences and budget. Look for a dash cam with a reliable brand, high video quality, and features that suit your needs.
Can I use my dash cam as a parking camera?
Some dash cams have a parking mode feature that allows them to record when your car is parked, which can help you monitor your vehicle when you’re not around.
Will a dash cam drain my car battery?
Dash cams typically use a small amount of power, so it’s unlikely to drain your battery if connected to a fuse that is only active when the car is running.
Can I install a rear camera along with the front dash cam?
Yes, many dash cam models offer a rear camera option, allowing you to record both front and rear views of your vehicle.
Is it legal to use a dash cam in my country?
Laws regarding dash cam usage vary by country and even by state or region. It’s essential to check your local laws before installing a dash cam to ensure compliance.
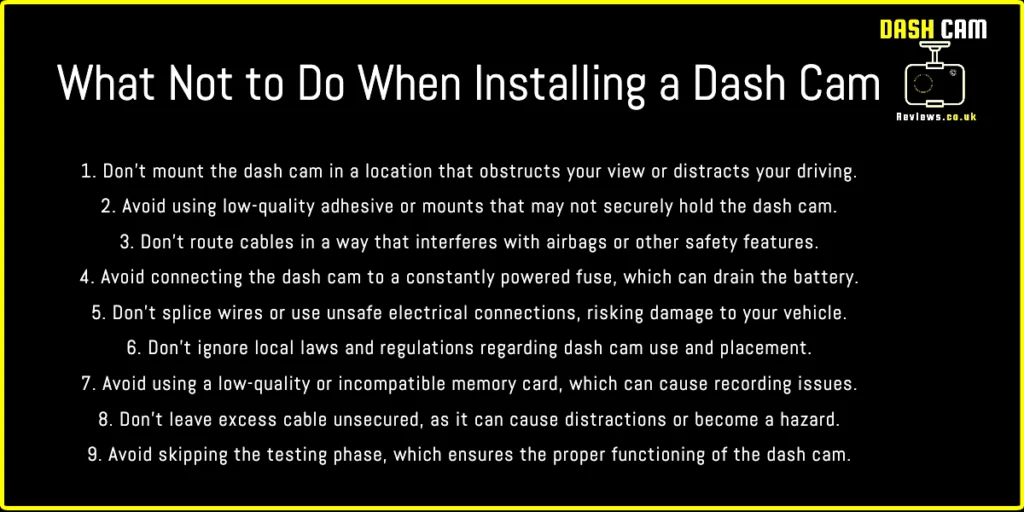
How Not To Install A Dash Cam.
Conclusion
Installing a dash cam on your Honda Civic can be a straightforward process if you follow the step-by-step guide we’ve provided. By choosing the right dash cam and taking the time to install it correctly, you can enjoy the peace of mind that comes with having a reliable witness to your journeys. Remember to maintain your dash cam and be mindful of local laws, and you’ll be well on your way to safer, more secure driving.