Installing a dash cam on your Honda HR-V is an excellent way to improve your driving experience and increase your safety on the road. In this article, we’ll guide you through the process of selecting the right dash cam, installing it step-by-step, and maintaining it to ensure optimal performance. Let’s get started!
Benefits of Installing a Dash Cam In Your Honda HR-V
Improved Safety
Having a dash cam in your Honda HR-V helps enhance your overall driving safety. It acts as an extra set of eyes on the road, enabling you to monitor traffic and road conditions more effectively. Additionally, it can help you become a more responsible driver by encouraging you to follow traffic rules and drive cautiously.
Accident Evidence
In the unfortunate event of an accident, a dash cam can provide crucial evidence of the incident. With clear footage of the accident, it becomes easier to determine fault and settle insurance claims, saving you time and money.
Monitoring Driving Behaviour
A dash cam can also help you monitor your own driving habits or the habits of others driving your vehicle. This can be particularly helpful for parents who want to keep an eye on their teen drivers or employers who want to ensure their employees are driving responsibly.
Necessary Tools and Equipment For Installation
Before starting the installation process, gather the necessary tools and equipment. These may include:
- Dash cam and mounting bracket
- Power cable
- MicroSD card
- Trim removal tool
- Cable clips or adhesive tape
- Fuse tap (if using a hardwiring kit)
Step-by-Step Guide to Installing a Dash Cam

Step 1: Choose the Best Location for Your Dash Cam
Select a location for your dash cam that provides optimal visibility without obstructing your view of the road. Ideally, the camera should be placed just behind the rearview mirror.
Step 2: Attach the Mounting Bracket
Clean the windshield where you’ll attach the bracket, then remove the adhesive backing and press the bracket firmly onto the glass. Hold it in place for a few seconds to ensure a strong bond. If your dash cam comes with a suction cup mount, moisten the suction cup slightly before attaching it to the windshield.
Step 3: Install the Dash Cam
Slide the dash cam onto the mounting bracket until it clicks into place. Make sure it is securely attached and adjust the angle of the camera to ensure it captures a clear view of the road ahead.
Step 4: Connect the Power Source
There are two main ways to power your dash cam: through the cigarette lighter socket or by hardwiring it to the car’s electrical system. If using the cigarette lighter socket, simply plug the power cable into the socket and connect the other end to the dash cam. For hardwiring, you’ll need a hardwiring kit and may require professional installation.
Step 5: Hide the Wiring
Using a trim removal tool, carefully tuck the power cable into the headliner and along the A-pillar. Run the cable down the side of the dashboard, securing it with cable clips or adhesive tape. If you’re connecting the dash cam to the cigarette lighter socket, run the cable along the centre console and under the floor mats to keep it hidden.
Step 6: Test Your Dash Cam
Turn on your vehicle and check to see if the dash cam powers up automatically. Ensure that it is recording and the video quality is satisfactory. Make any necessary adjustments to the camera angle or settings.
Troubleshooting Common Installation Issues
If you encounter any issues during the installation process, try the following troubleshooting tips:
- Ensure that the dash cam is securely attached to the mounting bracket.
- Check that the power cable is properly connected to both the dash cam and the power source.
- Verify that the MicroSD card is correctly inserted and formatted, if necessary.
Maintaining Your Dash Cam
To keep your dash cam functioning optimally, follow these maintenance tips:
- Regularly clean the lens and mounting bracket to ensure clear footage.
- Check the video quality periodically and adjust the camera angle if needed.
- Update the dash cam’s firmware as needed to take advantage of new features and improvements.
- Back up important footage regularly to avoid losing data due to a full or corrupt memory card.
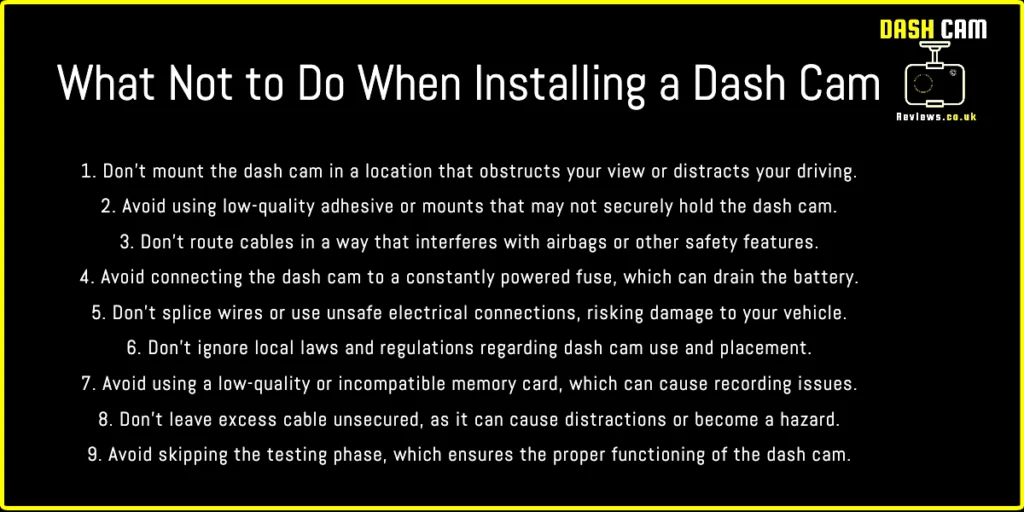
How Not To Install A Dash Cam.
Frequently Asked Questions
1. Can I use my dash cam’s parking mode feature without draining my Honda HR-V’s battery?
Yes, you can use the parking mode without draining your vehicle’s battery by using a hardwiring kit with a built-in voltage protection feature. This will ensure that your dash cam turns off automatically if the battery voltage drops below a certain level.
2. What is the ideal video resolution for my dash cam?
A resolution of 1080p is generally considered suitable for most users, as it provides clear and detailed footage. However, higher resolutions, such as 2K or 4K, can offer even better image quality, especially when examining footage for small details like license plates.
3. How do I know if my dash cam is recording?
Most dash cams have an LED indicator light that shows the recording status. Additionally, the screen on the dash cam typically displays a live feed with a recording symbol when it’s actively recording.
4. Can I use my smartphone as a dash cam?
While it is possible to use a smartphone as a dash cam by downloading a dedicated app, it is not recommended due to potential overheating, battery drain, and limited storage capacity.
5. How often should I replace my dash cam’s memory card?
Memory cards generally have a limited lifespan, so it’s a good idea to replace them every 1-2 years or when you notice issues with the video quality or corrupted files.
Conclusion
Learning how to install a dash cam on a Honda HR-V is a simple and worthwhile project that can significantly enhance your driving experience and safety. By following our step-by-step guide and maintaining your dash cam properly, you’ll be able to enjoy the benefits of having an extra set of eyes on the road. Remember to choose the right dash cam for your needs, invest in quality equipment, and take the time to install it correctly to ensure optimal performance. Safe driving!