So, you’ve decided to install a dash cam on your Audi Q5. Great choice! Dash cams have become increasingly popular in recent years, thanks to their ability to provide invaluable evidence in the event of a road incident. This guide will walk you through the process of installing a dash cam in your Audi Q5, ensuring that your investment is secure and functional. Let’s get started!
What You’ll Need to Install a Dash Cam
Before you begin the installation process, make sure you have the following items:
- Dash cam with included mounting bracket
- Power cable
- Cable clips or adhesive cable mounts
- Fuse tap kit or hardwire kit (optional)
- Trim removal tool (optional)
Step-by-Step Guide to Installing a Dash Cam on an Audi Q5

Choosing the Right Dash Cam
First, you’ll need to choose a dash cam that meets your needs and budget. There are numerous options available on the market, ranging from basic single-lens cameras to more advanced dual-lens models with additional features like GPS and Wi-Fi connectivity. Consider factors such as video quality, storage capacity, and user reviews when making your decision.
Mounting the Dash Cam
Once you’ve selected your dash cam, it’s time to mount it on your Audi Q5. Position the camera on the windshield, ideally behind the rearview mirror to avoid obstructing your view. Use the included mounting bracket and adhesive pad to secure the camera in place.
Routing the Power Cable
Next, you’ll need to route the power cable from the dash cam to the power source. Start by tucking the cable into the headliner, working your way from the camera towards the A-pillar. Use cable clips or adhesive cable mounts to secure the cable along the route.
There are two primary options for connecting your dash cam to a power source in your Audi Q5: using the vehicle’s 12V outlet (cigarette lighter) or hardwiring the camera to the fuse box. Using the 12V outlet is the simplest method, but hardwiring provides a cleaner installation and enables parking mode features on compatible cameras.
For the 12V outlet method, simply plug the power cable into the outlet and ensure the dash cam powers on when the vehicle is started.
For hardwiring, you’ll need a fuse tap kit or hardwire kit compatible with your dash cam. Identify an appropriate fuse in your Audi Q5’s fuse box, typically one that is only powered when the ignition is on. Attach the fuse tap or hardwire kit according to the manufacturer’s instructions, and then connect the power cable to the kit.
Hiding the Wires
To maintain a clean and professional appearance, you’ll want to hide the power cable from view. Use a trim removal tool to gently pry open the A-pillar trim, tuck the cable inside, and then reattach the trim. Continue hiding the cable along the route, tucking it into any gaps or channels in the vehicle’s interior panels.
Testing the Dash Cam
Once the dash cam is connected to a power source, start your Audi Q5 to ensure the camera powers on automatically. Check that the camera is recording properly and adjust the lens angle if necessary. Finally, review the footage to confirm the video quality and coverage meet your expectations.
Accident Evidence
One of the main reasons people install dash cams is to have concrete evidence in case of an accident. A dash cam can provide clear video footage that can help establish who was at fault, making it easier to deal with insurance claims and potential legal disputes.
Parking Protection
Dash cams can also act as a security measure while your vehicle is parked. Many models have a parking mode feature that records footage when motion or impact is detected, potentially capturing evidence of vandalism or hit-and-run incidents.
Insurance Benefits
Some insurance companies offer discounts for drivers who have dash cams installed in their vehicles, as it can help expedite the claims process and reduce the likelihood of fraudulent claims.
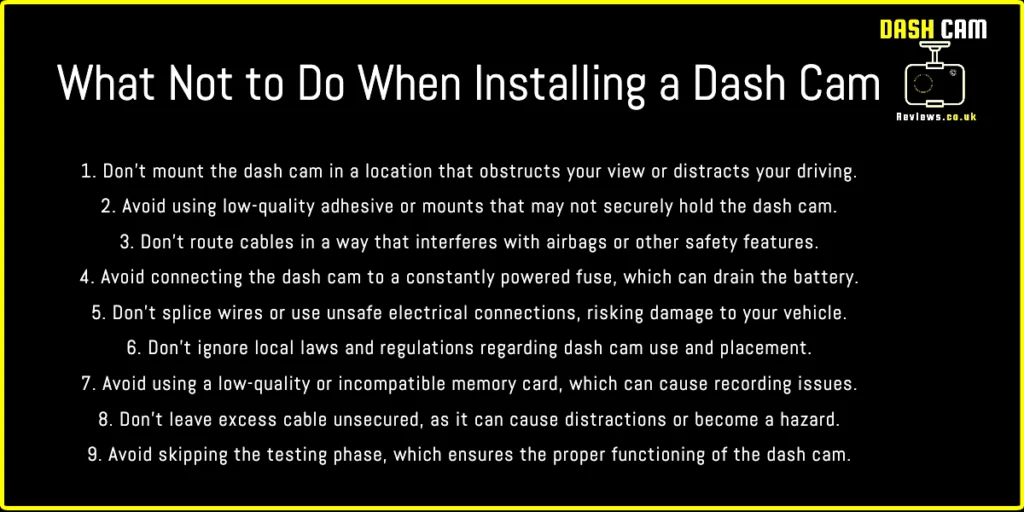
How Not To Install A Dash Cam.
Frequently Asked Questions
1. Can I install a rear-facing dash cam in my Audi Q5 as well?
Yes, many dash cam models offer both front and rear-facing cameras. The installation process for the rear camera will be similar, but you’ll need to route the cable from the front camera to the rear camera, typically along the headliner and through the vehicle’s interior panels.
2. How can I ensure my dash cam footage is saved in the event of an accident?
Most dash cams have a built-in G-sensor that detects sudden impact and automatically locks the current video file to prevent it from being overwritten. You can also manually lock important files using a dedicated button on the camera or through the camera’s app.
3. Do I need to purchase a separate SD card for my dash cam?
Most dash cams require a microSD card for storing video footage, but not all include one in the package. Be sure to check the manufacturer’s recommendations for compatible card sizes and speeds, and purchase one separately if necessary.
4. Will hardwiring my dash cam void my vehicle’s warranty?
Hardwiring a dash cam typically does not void your vehicle’s warranty, as it is considered a non-invasive modification. However, it’s always a good idea to consult your Audi dealership or review your warranty terms before making any modifications to your vehicle.
5. How can I maintain the performance and longevity of my dash cam?
To ensure your dash cam continues to function optimally, it’s important to periodically check the camera’s lens for dirt or debris and clean it as needed. Additionally, you should regularly review and manage your video files, deleting unneeded footage to free up storage space on your SD card. Finally, keep your dash cam’s firmware up-to-date by checking the manufacturer’s website for updates and following their instructions for installation.
6. What should I do if my dash cam stops working or malfunctions?
If your dash cam stops working or experiences issues, start by checking the power source and ensuring the camera is properly connected. Next, verify that the SD card is functioning and has sufficient storage space. If problems persist, consult the user manual for troubleshooting tips or contact the manufacturer’s customer support for assistance.
7. How often should I replace the adhesive pad on my dash cam mount?
The adhesive pad on your dash cam mount should remain secure for an extended period of time. However, if you notice that the camera is becoming loose or you need to remove the mount for any reason, it’s a good idea to replace the adhesive pad to ensure a secure attachment. Replacement adhesive pads are typically available for purchase from the dash cam manufacturer or through third-party retailers.
8. Can I use my dash cam’s parking mode without hardwiring it to the fuse box?
Some dash cams offer parking mode functionality when connected to a 12V outlet, but this may require a specific power cable with a built-in voltage cutoff to prevent draining your vehicle’s battery. Consult your dash cam’s user manual or manufacturer for compatibility and instructions on using parking mode with a 12V outlet connection.
9. Are there any legal restrictions on using a dash cam in my Audi Q5?
Laws regarding dash cam usage vary by location, so it’s important to familiarize yourself with the regulations in your area. Some regions may have restrictions on the placement of the camera, the use of audio recording, or the sharing of recorded footage. Always comply with local laws and regulations when using a dash cam in your vehicle.
10. How can I improve the video quality of my dash cam recordings?
To optimize the video quality of your dash cam recordings, ensure the camera lens is clean and free of debris, and periodically review your footage to confirm the lens angle is properly adjusted for maximum coverage. Additionally, using a high-quality SD card with a fast write speed can help ensure smooth, high-resolution video capture.
Conclusion
Installing a dash cam in your Audi Q5 is a wise investment that can provide invaluable evidence in the event of an accident, enhance parking protection, and even save you money on insurance. By following this step-by-step guide, you can ensure a successful and clean installation, providing you with peace of mind while you’re on the road.