Welcome to our Audi A1 Dash Cam Installation Guide, the ultimate resource for enhancing your vehicle’s safety and security. In this comprehensive guide, we’ll walk you through the step-by-step process of installing a dash cam in your Audi A1.
From selecting the perfect dash cam model to expert wiring and positioning it for optimal performance, we’ve got you covered.
Our easy-to-follow guide is designed to help both beginners and experienced car enthusiasts seamlessly integrate this essential piece of technology into their Audi A1, providing an added layer of protection and peace of mind on the road.
Let’s get started!

Preparing for the Installation
Tools and Materials Required
Before you begin the installation process, gather the following tools and materials:
- Dash cam and mounting kit
- MicroSD card
- Circuit tester or multimeter
- Trim removal tool
- Wire clips or cable ties
- Electrical tape or heat shrink tubing
Familiarising Yourself with Your Audi A1
Before installing your dash cam, it’s crucial to familiarize yourself with your Audi A1’s layout, including the fuse box location, interior panels, and the optimal location for mounting your dash cam. Consult your owner’s manual for detailed information about your vehicle.
Step-by-Step Installation Guide
Step 1: Positioning Your Dash Cam
First, clean your windshield to ensure proper adhesion. Then, decide where you’d like to mount your dash cam. Ideally, it should be placed in the center of your windshield, just behind the rearview mirror, to capture the best view of the road. Attach the mounting kit to the windshield according to the manufacturer’s instructions, and then attach the dash cam to the mount.
Step 2: Routing the Cables
Next, you’ll need to route the power and video cables from the dash cam to their respective connections. Start by tucking the cables into the headliner, working your way towards the A-pillar. Use a trim removal tool to gently pry the A-pillar cover, and then guide the cables down the A-pillar. Be cautious of airbags in this area and route the cables around them, not through them.
Continue routing the cables along the edge of the dashboard and the door seal, hiding them under trim panels or using wire clips to secure them. Keep following the door seal until you reach the fuse box area.
Step 3: Connecting to the Power Source
For a cleaner, more professional installation, hardwire the dash cam to your Audi A1’s fuse box. First, identify an accessory or ignition-switched fuse using a circuit tester or your vehicle’s manual. This ensures the dash cam only receives power when the car is running.
Use an “add-a-circuit” fuse tap to connect the dash cam’s power cable to the chosen fuse. Connect the ground cable from the dash cam to a metal grounding point in the car, such as a bolt or screw.
Step 4: Setting up the Dash Cam
Once you’ve connected the dash cam to the power source, insert a microSD card into the device, if not already included. Turn on your vehicle to check if the dash cam powers on and starts recording. Configure the dash cam settings, such as date and time, video quality, and any other features according to the manufacturer’s instructions.
Post-Installation Tips and Maintenance
Testing Your Dash Cam
After completing the installation, take a test drive to ensure the dash cam is recording properly. Check for any obstructions or issues with the video quality. Adjust the camera angle or settings as necessary.
Regular Maintenance
To keep your dash cam functioning optimally, perform regular maintenance:
- Clean the lens: Regularly clean the dash cam lens to ensure clear video quality.
- Check the memory card: Periodically check the memory card for errors or corruption and replace it if necessary.
- Update firmware: Keep your dash cam updated with the latest firmware from the manufacturer.
- Inspect cables and connections: Ensure all cables and connections remain secure and in good condition.
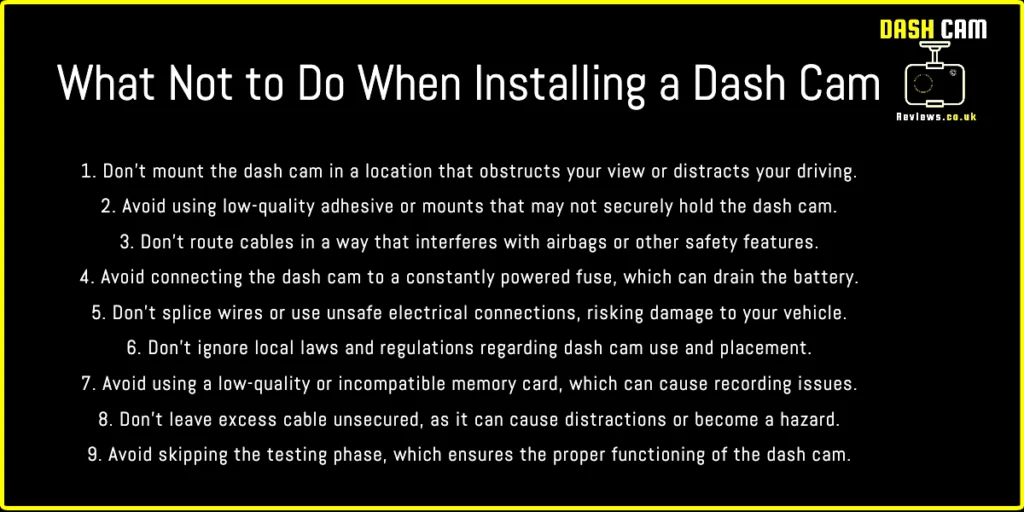
How Not To Install A Dash Cam.
FAQs
Can I use my cigarette lighter to power my dash cam?
Yes, you can use the cigarette lighter or a 12V power outlet, but hardwiring the dash cam to the fuse box offers a cleaner and more professional installation.
Will a dash cam drain my car battery?
When properly installed and connected to an ignition-switched fuse, a dash cam should not drain your car battery. It only receives power when the car is running, preventing battery drain when parked.
How do I choose the right microSD card for my dash cam?
Select a microSD card with a high-speed Class 10 rating or better to ensure smooth video recording. It’s also recommended to choose a card from a reputable manufacturer with a capacity between 32GB and 128GB.
Do I need to format my microSD card regularly?
It’s a good practice to format your microSD card every few months to ensure optimal performance and prevent potential data corruption. Always back up any important footage before formatting the card.
Can I install a rear camera along with my front dash cam?
Yes, many dash cams offer dual-channel options that include both front and rear cameras. The installation process is similar, with the additional step of routing the rear camera’s cable to the front dash cam unit.
Conclusion
Installing a dash cam in your Audi A1 can provide numerous benefits, including increased safety and security on the road. By following this step-by-step guide, you can successfully install a dash cam and enjoy the peace of mind it offers. Remember to perform regular maintenance to keep your dash cam functioning at its best.