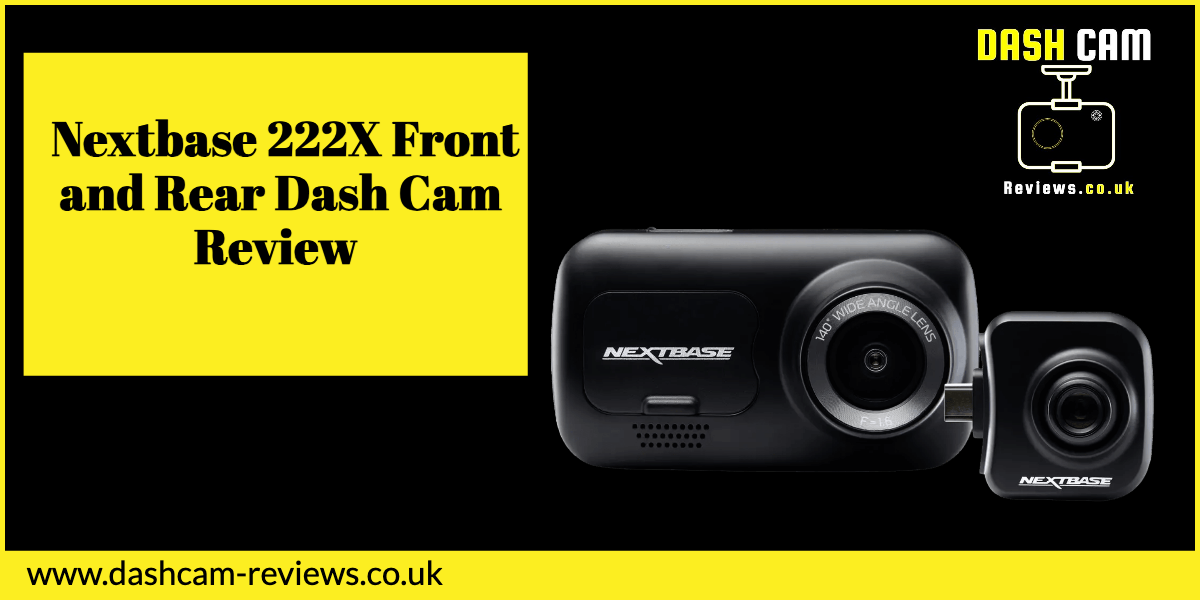
Dash cams have become increasingly popular in recent years, offering drivers added security and peace of mind on the road. These compact devices are designed to record everything that happens in front of, and sometimes behind, your vehicle, providing valuable footage in the event of an accident or other incidents. In this article, we’ll guide you through the process of installing a dash cam in your Nissan Navara, ensuring you get the most out of this essential piece of technology.
Why Install a Dash Cam in Your Nissan Navara?
There are numerous reasons why you might consider installing a dash cam in your vehicle. Here are a few key benefits:
Enhanced Road Safety
Dash cams can help promote safer driving habits, as drivers are more likely to be cautious and responsible when they know their actions are being recorded. This can lead to a reduction in incidents on the road and improve overall road safety.
Capture Evidence
In the unfortunate event of an accident or other incident, a dash cam can provide crucial evidence that can help determine who was at fault. This footage can be invaluable in resolving disputes and avoiding costly legal battles.
Insurance Benefits
Some insurance companies offer discounts to drivers who have a dash cam installed in their vehicle, as they believe it encourages safer driving and provides valuable evidence in the event of a claim. Make sure to check with your insurer to see if they offer any such incentives.
Dash Cam Installation Process
Once you’ve chosen the right dash cam for your Nissan Navara, it’s time to install it. Follow these steps for a successful installation:
Tools and Materials
Gather the necessary tools and materials before you begin, such as:
- Dash cam and mount
- MicroSD card (if not included with the dash cam)
- Power cable (usually included with the dash cam)
- Cable clips or cable ties (optional)
- Cleaning supplies (e.g., rubbing alcohol and a microfiber cloth)
Preparing Your Vehicle For Installation
Before installing the dash cam, take the time to prepare your vehicle:
Choosing the Mounting Location
Select a suitable location for the dash cam, ideally behind the rearview mirror so it doesn’t obstruct your view of the road. Ensure the camera has a clear view of the road ahead and is positioned to capture the entire windshield.
Cleaning the Surface
Clean the area where you plan to mount the dash cam using rubbing alcohol and a microfiber cloth. This will remove any dirt or grease that could prevent the mount from adhering properly.
Installing the Dash Cam
Follow these steps to install the dash cam:
Attaching the Mount
Peel off the backing from the adhesive pad on the mount, then press it firmly onto the cleaned area of the windshield. Hold it in place for a few seconds to ensure a secure bond.
Connecting the Power Source
Connect the power cable to the dash cam and plug the other end into your vehicle’s 12V power socket (usually the cigarette lighter socket). If your dash cam has a hardwiring kit, consult the manufacturer’s instructions for connecting it to your vehicle’s fuse box.
Routing the Cables
Route the power cable along the edge of the windshield, using cable clips or cable ties to secure it in place. Continue routing the cable along the A-pillar, under the dashboard, and to the power socket, ensuring it doesn’t interfere with your vehicle’s controls or airbags.
Troubleshooting Common Issues
If you encounter any issues with your dash cam, consider the following solutions:
Power Issues
If your dash cam isn’t powering on, ensure the power cable is securely connected to both the camera and the power socket. Check the fuse in the power adapter or hardwiring kit (if applicable) and replace it if necessary.
Recording Issues
If your dash cam isn’t recording properly, check the MicroSD card to ensure it’s properly inserted and has sufficient storage space. Format the card if necessary, following the manufacturer’s instructions.
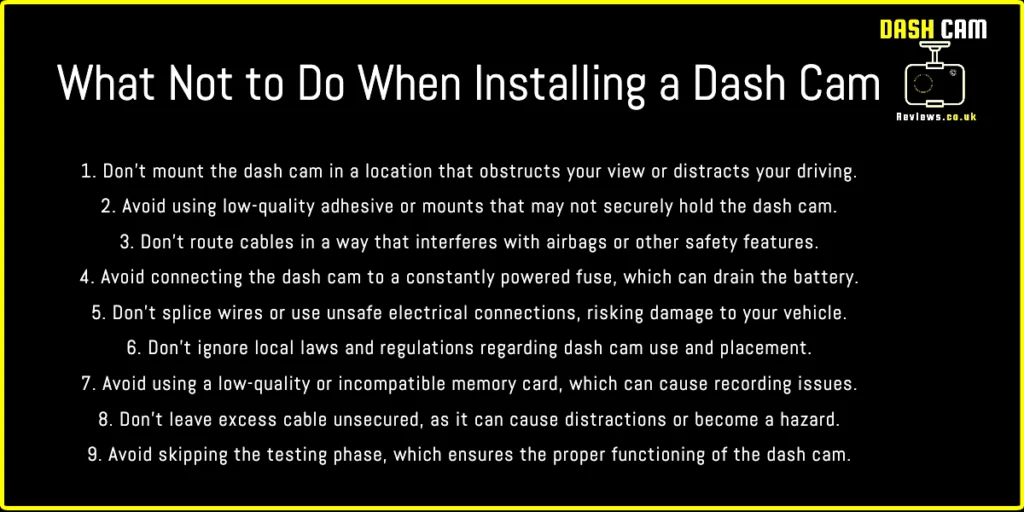
How Not To Install A Dash Cam.

Frequently Asked Questions
Q: Can I install a rear-facing camera in my Nissan Navara?
A: Yes, many dash cams come with an optional rear-facing camera, which can be mounted on the rear window or tailgate to capture events behind your vehicle. Follow the manufacturer’s instructions for installing the rear-facing camera and routing the cables.
Q: How long will my dash cam record for?
A: The recording duration depends on the capacity of the MicroSD card and the video resolution. Most dash cams use loop recording, which means older footage is automatically overwritten when the card is full. To preserve important recordings, you can manually lock them or transfer them to another storage device.
Q: Is it legal to install a dash cam in my Nissan Navara?
A: Dash cams are generally legal in the UK, as long as they don’t obstruct your view of the road or violate any privacy laws. It’s important to check your local regulations and ensure your dash cam installation complies with them.
Q: How do I maintain my dash cam?
A: Regularly check your dash cam to ensure it’s functioning correctly and securely mounted. Clean the lens as needed to maintain clear recordings. Keep the software and firmware up to date by following the manufacturer’s instructions.
Q: Can I use my dash cam to monitor my parked Nissan Navara?
A: Some dash cams have a parking mode feature, which enables them to record when your vehicle is parked and motion or impact is detected. This can provide additional security and peace of mind, especially in areas with high rates of vehicle theft or vandalism.
Conclusion
In conclusion, a Nissan Navara dash cam install is a valuable addition to your vehicle, providing added safety, evidence, and potential insurance benefits. By carefully choosing the right dash cam, preparing your vehicle, and following the installation steps outlined above, you can enjoy the peace of mind that comes with having a reliable dash cam in your Nissan Navara. Remember to consult your local laws and regulations regarding dash cam use and ensure your installation complies with them. Safe driving!


