A dash cam is a valuable addition to any car, and the Volvo XC60 is no exception. Installing a dash cam in your vehicle can provide you with peace of mind, as well as essential evidence in the event of an accident. In this article, we will walk you through the process of choosing and installing the perfect dash cam for your Volvo XC60.Why Install a Dash Cam?
Dash cams are beneficial for several reasons, including:
- Capturing evidence in the event of an accident
- Protecting yourself from fraudulent insurance claims
- Recording incidents of road rage or dangerous driving
- Documenting your road trips and adventures
Choosing the Right Dash Cam for Your Volvo XC60
Before you start the installation process, it’s essential to select a dash cam that meets your needs and is compatible with your Volvo XC60.
Camera Features to Consider
When shopping for a dash cam, consider the following features:
- Video resolution: Look for at least 1080p resolution for clear, high-quality footage.
- Night vision: Ensure the camera performs well in low-light conditions.
- Loop recording: This feature automatically overwrites the oldest footage when the memory card is full.
- G-sensor: A G-sensor detects impacts and automatically saves and locks the footage to prevent it from being overwritten.
- GPS: Some dash cams offer GPS functionality to track your vehicle’s location and speed.
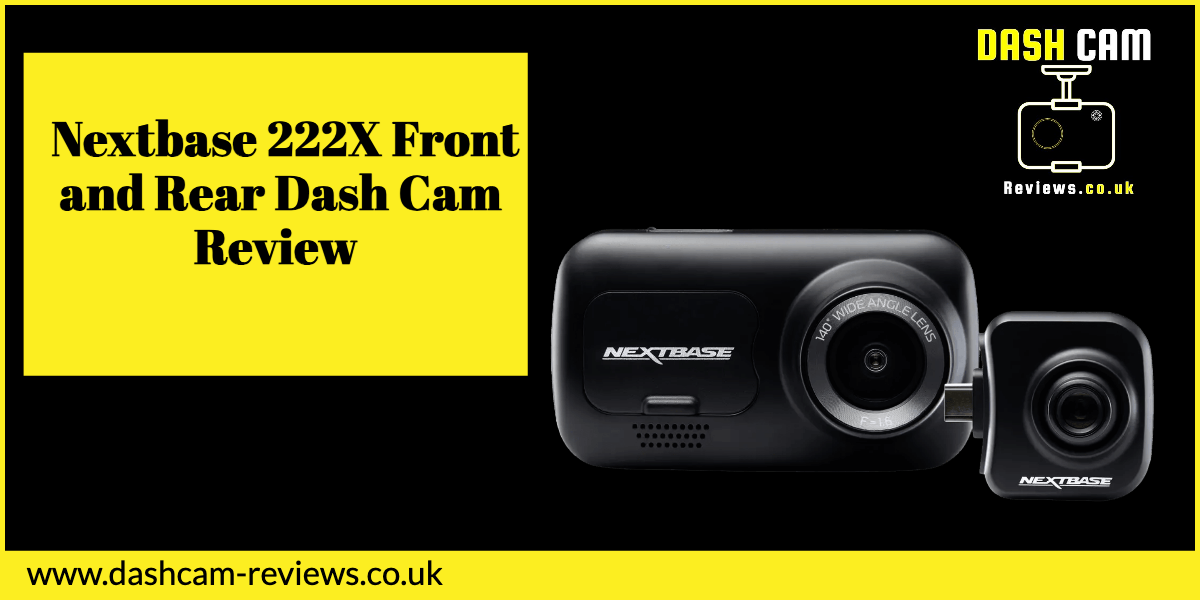
- Dual-channel: A dual-channel dash cam records both the front and rear of your vehicle.
Compatibility with Volvo XC60
Ensure the dash cam you choose is compatible with your Volvo XC60. Check the mounting options, power source compatibility, and whether any additional accessories or adapters are required.
Tools and Materials Needed
To install a dash cam in your Volvo XC60, you will need the following:
- Dash cam and mounting hardware
- Power cable or hardwiring kit
- Trim removal tools or a flathead screwdriver
- Wire clips or adhesive cable mounts (optional)
Step-by-Step Guide to Installing a Dash Cam on Volvo XC60

Step 1: Plan the Camera Placement
Decide where to mount the dash cam on your windshield. Ideally, it should be positioned in the center, just behind the rearview mirror, ensuring a clear view of the road without obstructing your vision.
Step 2: Attach the Camera Mount
Clean the area of the windshield where you plan to attach the mount. Peel the backing off the adhesive pad and press the mount firmly onto the glass, holding it in place for a few seconds to ensure a secure bond.
Step 3: Connect the Power Source
There are two main power source options for your dash cam: using the cigarette lighter socket or hardwiring the camera to your car’s electrical system. Using the cigarette lighter socket is the easiest method, but hardwiring can provide a cleaner and more permanent solution.
- For the cigarette lighter socket: Plug the power cable into the dash cam and the other end into the socket.
- For hardwiring: You’ll need a hardwiring kit compatible with your dash cam. Connect the kit to the camera and follow the manufacturer’s instructions for wiring it to your car’s fuse box. You may need to consult your vehicle’s manual or a professional if you’re not comfortable working with your car’s electrical system.
Step 4: Route the Power Cable
Use the trim removal tools or a flathead screwdriver to carefully pry the edge of the headliner and tuck the power cable into the gap. Run the cable along the edge of the headliner, down the A-pillar, and to the power source (either the cigarette lighter socket or the fuse box). Use wire clips or adhesive cable mounts to secure the cable and keep it hidden from view.Step 5: Attach the Dash Cam to the Mount
Once the power cable is in place, slide the dash cam onto the mount, ensuring it’s securely attached and correctly oriented.Step 6: Test the Dash Cam
Turn on your Volvo XC60 and check that the dash cam powers on and records footage. Adjust the camera angle if necessary to ensure it captures the best view of the road ahead.
Tips for Maintaining Your Dash Cam
To keep your dash cam functioning optimally, follow these maintenance tips:
- Regularly check the camera’s angle to ensure it captures the best view of the road.
- Clean the lens with a microfiber cloth to maintain clear footage.
- Keep the camera’s firmware up to date by checking for updates from the manufacturer.
- Periodically review and delete unnecessary footage to free up space on your memory card.
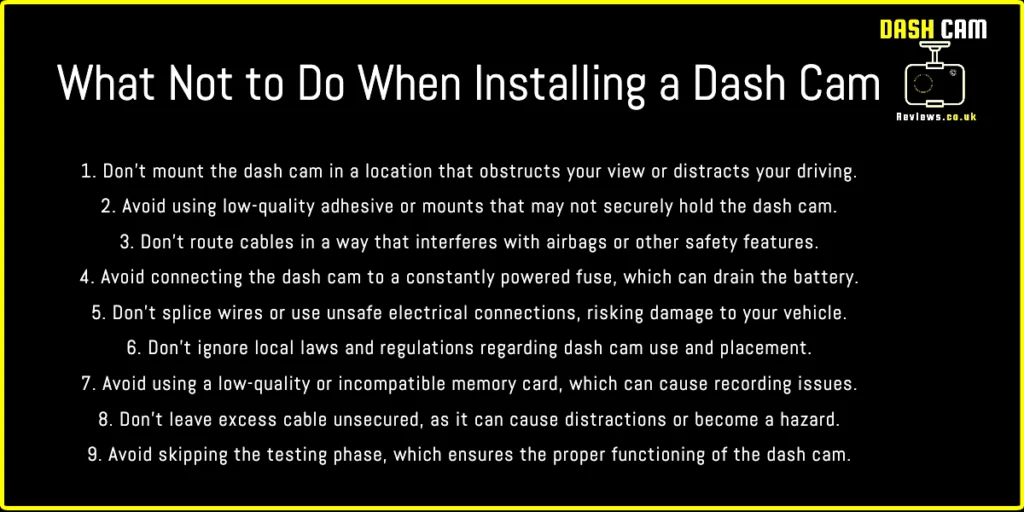
How Not To Install A Dash Cam.

FAQs
Is it legal to install a dash cam in my Volvo XC60?
Dash cams are generally legal, but laws vary by location. It’s essential to check local regulations and ensure your dash cam installation complies with any restrictions on windshield-mounted devices.
Can I install a rear-facing dash cam in my Volvo XC60?
Yes, you can install a rear-facing dash cam to capture footage from behind your vehicle. This typically involves mounting a second camera on the rear window and routing the power cable to the front of the car.
How do I choose the best memory card for my dash cam?
It’s crucial to select a high-quality, high-speed memory card to ensure reliable performance. Look for a Class 10 or UHS-I rated card with a capacity of at least 32GB.
Can a dash cam drain my car’s battery?
If properly installed and configured, a dash cam should not significantly drain your car’s battery. Most dash cams have a “parking mode” that uses minimal power when the car is turned off. If you’re concerned about battery drain, consider using a hardwiring kit with a voltage cutoff feature.
What if my Volvo XC60 doesn’t have a cigarette lighter socket?
If your Volvo XC60 doesn’t have a cigarette lighter socket, you can opt to hardwire the dash cam to your car’s electrical system using a compatible hardwiring kit. This method involves connecting the kit to the camera and wiring it to your car’s fuse box, ensuring a more permanent and cleaner installation.
Conclusion
Installing a dash cam on your Volvo XC60 is a worthwhile investment that can provide valuable evidence and peace of mind while on the road. With the right dash cam, tools, and a bit of patience, you can easily complete the installation process yourself. Remember to maintain your dash cam and ensure it’s always functioning optimally to capture crucial moments when you need it most.


