Discover how to install a dash cam in your Mercedes-Benz C-Class with our easy-to-follow guide. Enhance your driving experience and security by equipping your vehicle with a reliable and high-quality dash cam. In this article, we’ll walk you through the step-by-step process of installing a dash camera, ensuring you capture crystal-clear video while on the road.
When selecting a dash cam for your Mercedes C-Class, consider factors like video quality, storage capacity, ease of installation, and additional features like night vision or parking mode. It’s also essential to choose a dash cam that will meet your requirements and personal preferences.
Preparing for Installation
Tools and Materials Needed
Before starting the installation, gather the necessary tools and materials, including:
- Dash cam and accessories (mount, power cable, etc.)
- Trim removal tools or plastic pry bars
- Electrical tape or cable ties
- Wire crimps or connectors
- Fuse tap kit (optional)
Identifying the Installation Location
Choose an installation location that provides a clear view of the road ahead without obstructing your line of sight. The ideal position is typically behind the rearview mirror.
Step by Step Dash Cam Installation

Step 1: Mounting the Dash Cam
Attach the dash cam mount to your chosen location on the windshield, following the manufacturer’s instructions. Ensure that the mount is secure and the camera is correctly angled.
Step 2: Running the Power Cable
Run the power cable along the headliner, tucking it into the trim to keep it hidden. Use trim removal tools or plastic pry bars to gently lift the trim and secure the cable with electrical tape or cable ties.
Step 3: Connecting to a Power Source
There are several options for connecting your dash cam to a power source:
- Hardwire: Connect the dash cam directly to your car’s fuse box using a fuse tap kit. This method provides a clean, discreet installation and enables parking mode.
- Cigarette lighter adapter: Plug the dash cam into your car’s 12V power socket. This method is simple but may limit access to the power socket for other devices.
Step 4: Installing the Rear Camera (Optional)
If your dash cam has a rear camera, run the connecting cable from the front camera along the headliner and down the side trim to the rear window. Mount the rear camera and connect the cable following the manufacturer’s instructions. Ensure the rear camera is securely mounted and correctly angled.
Step 5: Testing the Dash Cam
Turn on your car and check if the dash cam powers up correctly. Test all its functions, including recording, playback, and any additional features like GPS or parking mode. Make sure both front and rear cameras (if applicable) are functioning properly and capturing clear video.
Tips for Proper Dash Cam Maintenance
- Regularly clean the camera lens and windshield to ensure clear video quality.
- Check and update the dash cam firmware as needed.
- Periodically format the memory card to maintain optimal performance.
- Adjust the camera angle and settings as needed for the best video capture.
Troubleshooting Common Dash Cam Issues
Issue 1: Dash Cam Won’t Turn On
If your dash cam fails to power up, check the power connections and fuses. Ensure the power cable is securely connected and that the fuse is not blown. If using a cigarette lighter adapter, try another 12V power socket or test with a different device to confirm the socket is functional.
Issue 2: Poor Video Quality
Clean the camera lens and windshield if you notice reduced video clarity or focus. Check the camera settings and adjust the resolution or other video parameters if necessary. If the issue persists, the camera lens or sensor may be damaged and require repair or replacement.
Issue 3: Dash Cam Keeps Falling Off
If your dash cam mount frequently falls off the windshield, clean the windshield and suction cup thoroughly with rubbing alcohol and allow them to dry before reattaching. If the issue continues, consider a more robust mounting solution, such as adhesive mounts or a rearview mirror mount.
Benefits of Dash Cams
Dash cams provide numerous advantages for car owners, including capturing video evidence of accidents or other incidents, discouraging insurance fraud, and promoting safe driving habits. Additionally, some dash cams offer advanced features such as GPS tracking, parking mode, and advanced driver assistance systems (ADAS).
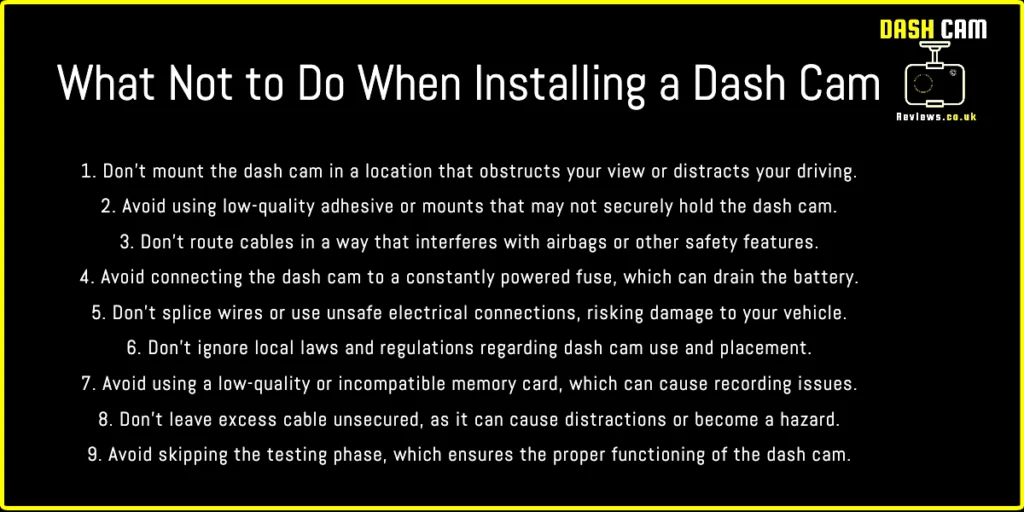
How Not To Install A Dash Cam.
FAQs
Do I need a professional to install a dash cam in my Mercedes C-Class?
No, you can follow the step-by-step guide provided in this article to install the dash cam yourself. However, if you’re uncomfortable or inexperienced with electrical work, consider seeking professional assistance.
Is it legal to install a dash cam in my Mercedes C-Class?
Yes, dash cams are legal in most countries. However, some jurisdictions have specific regulations regarding windshield-mounted devices, video recording, or audio recording. Check your local laws to ensure compliance.
What is the best dash cam for a Mercedes C-Class?
There is no one-size-fits-all answer, as the best dash cam depends on your specific needs and preferences. Consider factors like video quality, storage capacity, hd dashcam, ease of installation, and additional features when choosing the right dash cam for your Mercedes C-Class.
Will installing a dash cam void my Mercedes C-Class warranty?
Installing a dash cam should not void your car’s warranty. However, it’s essential to follow the installation instructions carefully to avoid causing any damage to your vehicle’s electrical system or components.
Can I use my smartphone as a dash cam in my Mercedes C-Class?
While it’s possible to use a smartphone as a makeshift dash cam, dedicated dash cams provide better video quality, more reliable performance, and additional features like continuous recording and parking mode. It is recommended to invest in a dedicated dash cam for the best results.
Conclusion
Installing a dash cam in your Mercedes C Class vehicle w204 can greatly enhance your driving experience by providing valuable video evidence and promoting safe driving habits. This article has provided a comprehensive, step-by-step guide on how to install both front and rear cameras, as well as tips for maintaining and troubleshooting your dash cam.
By carefully following these instructions and considering factors like video quality, compatibility, and additional features, you can enjoy the benefits of having a reliable, high-quality dash cam in your Mercedes C-Class.