In today’s fast-paced world, ensuring road safety and capturing important moments while driving is essential. One way to achieve this is by installing a dash cam in your vehicle.
In this comprehensive guide, we’ll focus on the Audi A6 dash cam installation process, covering everything from selecting the right dash cam, gathering necessary tools and materials, and providing a step-by-step installation guide.
By the end of this article, you’ll have the knowledge and confidence to install a dash cam in your Audi A6 and enjoy the benefits it offers. So let’s dive in and explore the world of dash cams!
How To Install A Dash Cam On Your Audi A6

Compatibility with Audi A6
Ensure that the dash cam you choose is compatible with your vehicle. Most dash cams are universal, but it’s best to double-check before purchasing.
Tools and Materials Needed for Installation
To install a dash cam in your Audi A6, you’ll need a few basic tools and materials.
Basic Tools
- Screwdriver
- Trim removal tool
- Wire crimper or pliers
- Electrical tape
- Cable ties
Additional Accessories
- Hardwire kit or cigarette lighter adapter for power
- MicroSD card for storage
Step-by-Step Guide to Installing a Dash Cam in Your Audi A6
Now that you have the tools and dash cam ready, let’s walk through the installation process step by step.
Mounting the Dash Cam
- Clean the windshield area where you’ll mount the dash cam.
- Attach the suction cup or adhesive mount to the dash cam. 3. Position the dash cam in the desired location on the windshield, ensuring a clear view of the road.
- Press the suction cup or adhesive firmly against the windshield.
Routing the Wires
- Use a trim removal tool to tuck the power cable into the headliner, starting from the dash cam and moving toward the A-pillar.
- Route the cable along the A-pillar, using caution to avoid interfering with the airbags.
- Continue routing the cable under the door seal, following the car’s existing wiring path.
- If using a rear camera, repeat the process for the rear camera cable.
Connecting the Power Supply
- If using a hardwire kit, identify a fuse that is only active when the car is on (e.g., accessory or ignition fuse).
- Attach the hardwire kit’s positive wire to the identified fuse using a fuse tap or piggyback connector.
- Connect the negative wire from the hardwire kit to a grounding point, such as a metal bolt or screw.
- If using a cigarette lighter adapter, simply plug the power cable into the car’s cigarette lighter or 12V socket.
Testing the Dash Cam
- Turn on your Audi A6 and ensure the dash cam powers up.
- Adjust the camera angle for optimal view, if necessary.
- Record a test video to verify that the dash cam is functioning correctly.
Optional: Connecting to a Rear Camera
- Mount the rear camera on the rear windshield or license plate, depending on the camera type.
- Route the rear camera cable to the front dash cam, following the same process as the front camera’s power cable.
- Connect the rear camera cable to the front dash cam.
Tips for a Successful Audi A6 Dash Cam Installation
To ensure a seamless and efficient installation process, consider these tips:
Choose the Optimal Position
Install the dash cam behind the rearview mirror to avoid obstructing your view while driving.
Plan the Wiring Path
Before starting the installation, map out the cable routing path to minimize potential complications.
Keep It Clean and Organized
Use cable ties and clips to keep wires tidy and out of sight.
Benefits of Installing a Dash Cam
- Record driving incidents for insurance purposes
- Capture footage of scenic drives or road trips
- Monitor your car when parked
Types of Dash Cams
- Single-channel: Records only the front view
- Dual-channel: Records both front and rear views
- Advanced features: GPS, Wi-Fi, parking mode, etc.
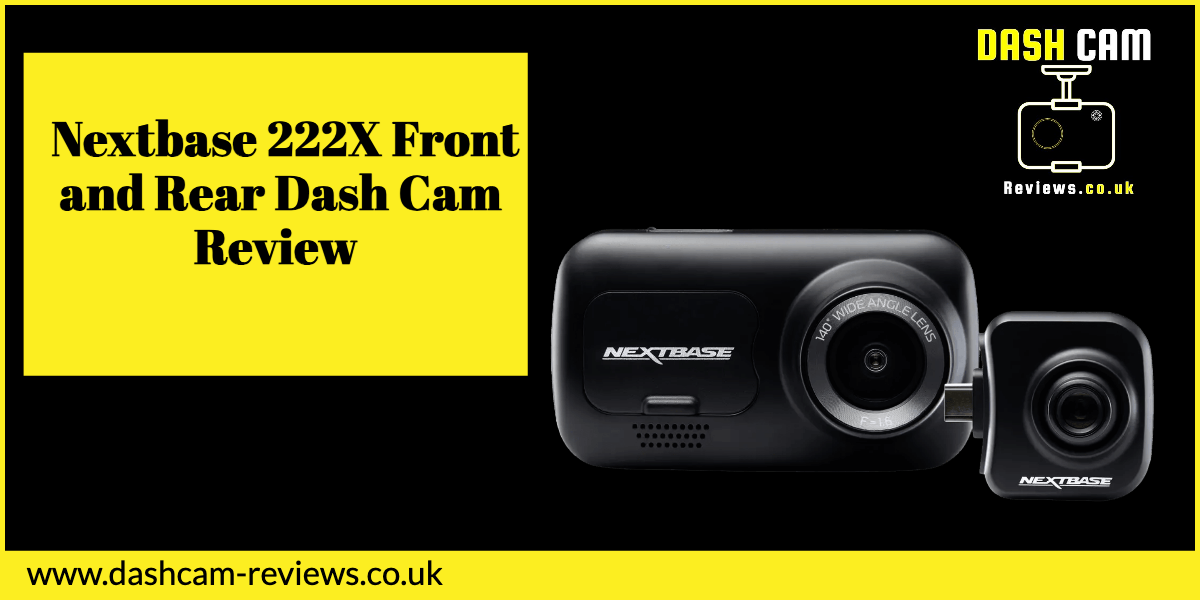
Selecting the Right Dash Cam for Your Audi A6
Before you start the installation process, it’s essential to choose a dash cam that suits your needs and is compatible with your Audi A6.
Essential Features
- High-resolution video quality (1080p or higher)
- Wide-angle lens for optimal coverage
- Night vision capabilities
- Loop recording to continuously overwrite old footage
Budget Considerations
Dash cams are available at various price points, so it’s essential to strike a balance between features and cost. You can find a reliable dash cam for your Audi A6 in the £100-£500 range.
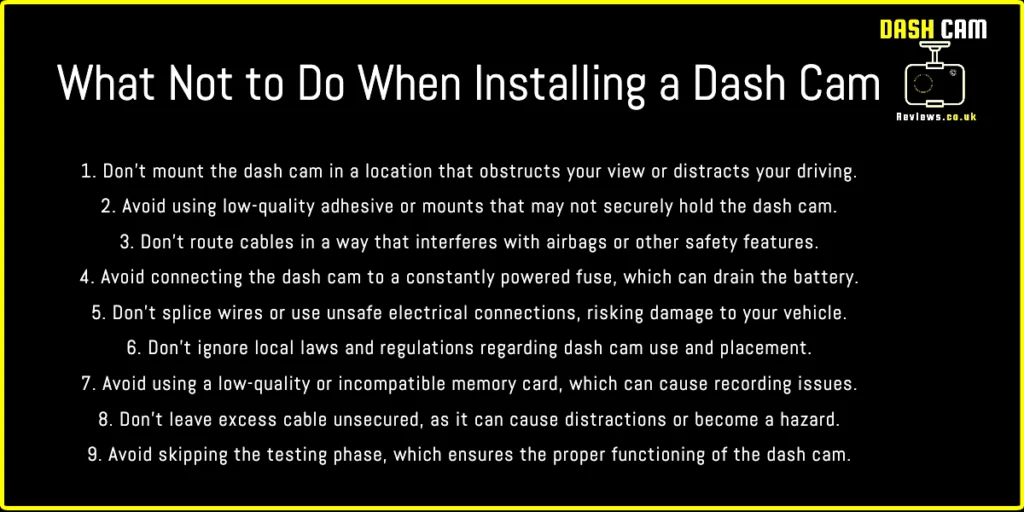
How Not To Install A Dash Cam.

Frequently Asked Questions
Can I install a dash cam myself, or should I seek professional help? A: With the right tools and instructions, most people can install a dash cam themselves. However, if you’re uncomfortable with the process, seek professional assistance.
How do I know if my dash cam is recording properly? A: Most dash cams have an indicator light or screen that displays their recording status. Additionally, you can check the saved footage on the MicroSD card to ensure proper recording.
Will installing a dash cam void my Audi A6 warranty? A: As long as the installation doesn’t involve modifying the car’s original wiring or causing damage, your warranty should remain intact.
Can I use a dash cam as a parking monitor? A: Yes, if your dash cam has a parking mode feature, it can record incidents while your vehicle is parked.
How often should I replace the MicroSD card in my dash cam? A: MicroSD card can typically last for years, but it’s a good idea to replace them every 1-2 years, depending on usage. Keep an eye on your dash cam’s video quality and performance, and replace the card if you notice any issues.
Conclusion
Installing a dash cam in your Audi A6 is a valuable investment that can provide peace of mind and security on the road. By following this comprehensive guide and our tips, you’ll be well on your way to enjoying the benefits of having a dash cam in your vehicle.


