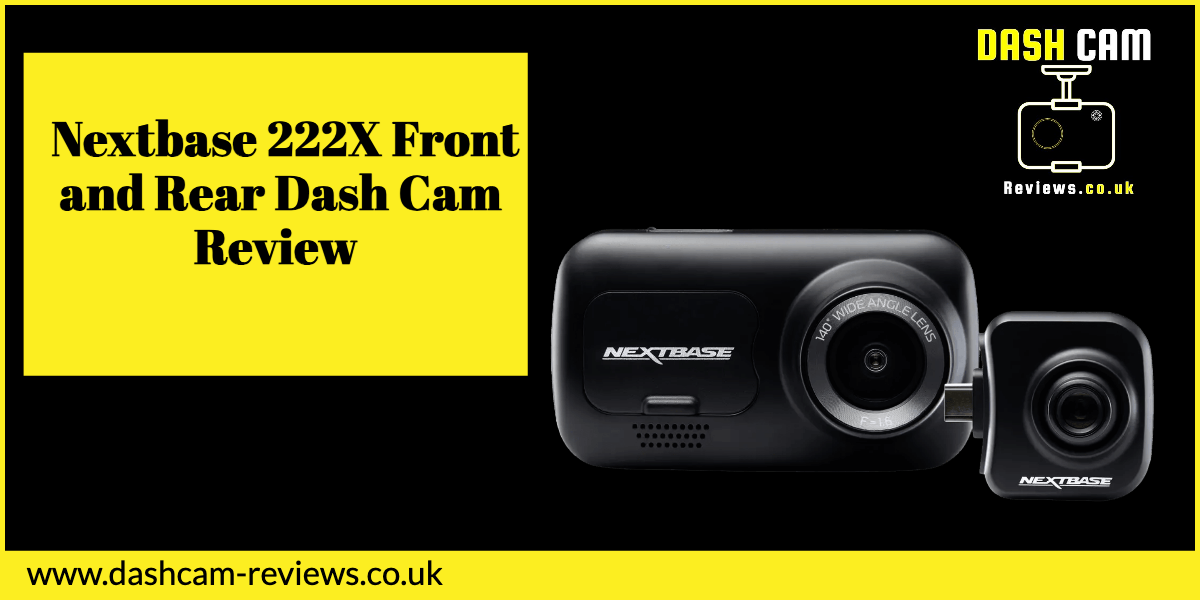
Are you considering installing a dash cam in your Ford Kuga? If so, you’re in the right place! A dash cam is an invaluable addition to your vehicle, providing security and evidence in case of accidents.
In this comprehensive guide, we’ll walk you through the process of installing a dash cam on your Ford Kuga, covering everything from choosing the right camera to maintenance tips.
So, let’s dive in!
Tools and Materials Needed
Before starting the installation, gather the following tools and materials:
- Dash cam
- Mounting bracket or suction cup
- Power cable
- Cable clips or cable ties
- Trim removal tool or spoon
- Electrical tape
- Fuse tap (if hardwiring)
Step-by-Step Installation Guide

Now that you have everything you need, it’s time to install your dash cam. Follow these steps for a successful installation:
Step 1: Positioning the Dash Cam
Choose the ideal location for your dash cam, usually behind the rearview mirror. Ensure it has a clear view of the road and doesn’t obstruct your vision. Attach the mounting bracket or suction cup to the windscreen and secure the dash cam.
Step 2: Running the Power Cable
Run the power cable from the dash cam along the top of the windscreen, tucking it into the headliner. Continue down the A-pillar, using a trim removal tool or flathead screwdriver to pry the plastic trim away slightly and hide the cable.
Step 3: Connecting the Dash Cam to Power
You have two options for powering your dash cam: plugging it into the 12V socket or hardwiring it to the fuse box. If using the 12V socket, simply plug in the power cable. If hardwiring, connect the cable to a fuse tap and then to a suitable fuse in the fuse box, ensuring you choose a fuse that is only live when the ignition is on.
Step 4: Organising and Hiding the Cables
Continue running the cable along the bottom of the A-pillar, tucking it into the weather stripping. Run the cable under the dashboard and secure it with cable clips or ties, ensuring it’s not interfering with pedals or other controls. If you’re using the 12V socket, plug the cable in, and if you’re hardwiring, connect the cable to the fuse tap and fuse box.
Step 5: Testing the Dash Cam
With the dash cam connected to power, turn on your Ford Kuga’s ignition and check that the dash cam powers on and begins recording. Adjust the camera angle as needed to ensure a clear view of the road.
Tips for a Successful Installation
To ensure a smooth installation process, keep the following tips in mind:
- Take your time and be patient
- Plan your cable route before starting
- Test the dash cam before finalising the installation
- Consult your Ford Kuga’s owner’s manual for specific guidance on fuse box locations and suitable fuses
Troubleshooting Common Issues
If you encounter any issues during or after installation, try these troubleshooting tips:
- Check all connections, ensuring they’re secure
- Ensure the power source is working correctly
- Consult your dash cam’s user manual for specific troubleshooting guidance
- If hardwiring, double-check that you’ve chosen the correct fuse
H2: Maintaining Your Dash Cam
To keep your dash cam in optimal working condition, follow these maintenance tips:
- Regularly check the camera angle and adjust as needed
- Clean the lens with a microfiber cloth
- Keep the dash cam’s firmware up to date
- Regularly review and delete unneeded footage to free up storage space
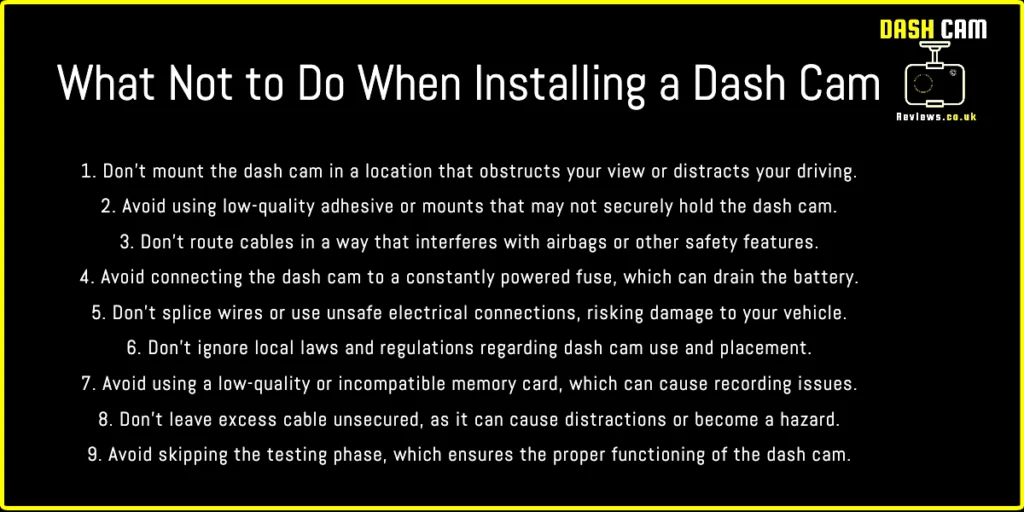
How Not To Install A Dash Cam.

FAQs
Can I install a rear-facing dash cam in my Ford Kuga?
Yes, you can install a rear-facing dash cam in your Ford Kuga. Follow a similar installation process as outlined for the front-facing dash cam, but run the cable from the rear camera to the front camera or main unit.
How can I power my dash cam if I don’t want to use the 12V socket?
You can hardwire your dash cam to your Ford Kuga’s fuse box using a fuse tap. This provides a cleaner installation and frees up the 12V socket for other uses.
What should I do if my dash cam keeps turning off while driving?
If your dash cam turns off while driving, check the power connections and ensure they are secure. If hardwired, double-check that you’ve connected it to a suitable fuse that is live only when the ignition is on.
Is it legal to have a dash cam in my Ford Kuga?
In most regions, it’s legal to have a dash cam in your vehicle. However, it’s essential to ensure the camera doesn’t obstruct your view of the road and to follow any local regulations regarding recording and data privacy.
Can I use my dash cam as a parking monitor?
Some dash cams have a parking mode feature that records when your vehicle is parked and detects motion or impact. To use this feature, your dash cam must be hardwired to a constant power source, such as an always-on fuse in the fuse box.
Be sure to consult your dash cam’s user manual for specific instructions on setting up parking mode. Additionally, be aware of any local regulations regarding recording while your vehicle is parked.
There you have it! Now you’re equipped with all the information and guidance needed to successfully install a dash cam in your Ford Kuga. Happy driving, and enjoy the added safety and peace of mind that comes with having a dash cam in your vehicle.
Conclusion
Installing a dash cam on your Ford Kuga is a worthwhile investment that offers increased safety and peace of mind. By following this step-by-step guide and considering the tips provided, you’ll have your dash cam up and running in no time. Enjoy the added security and confidence that comes with having a dash cam in your Ford Kuga!


